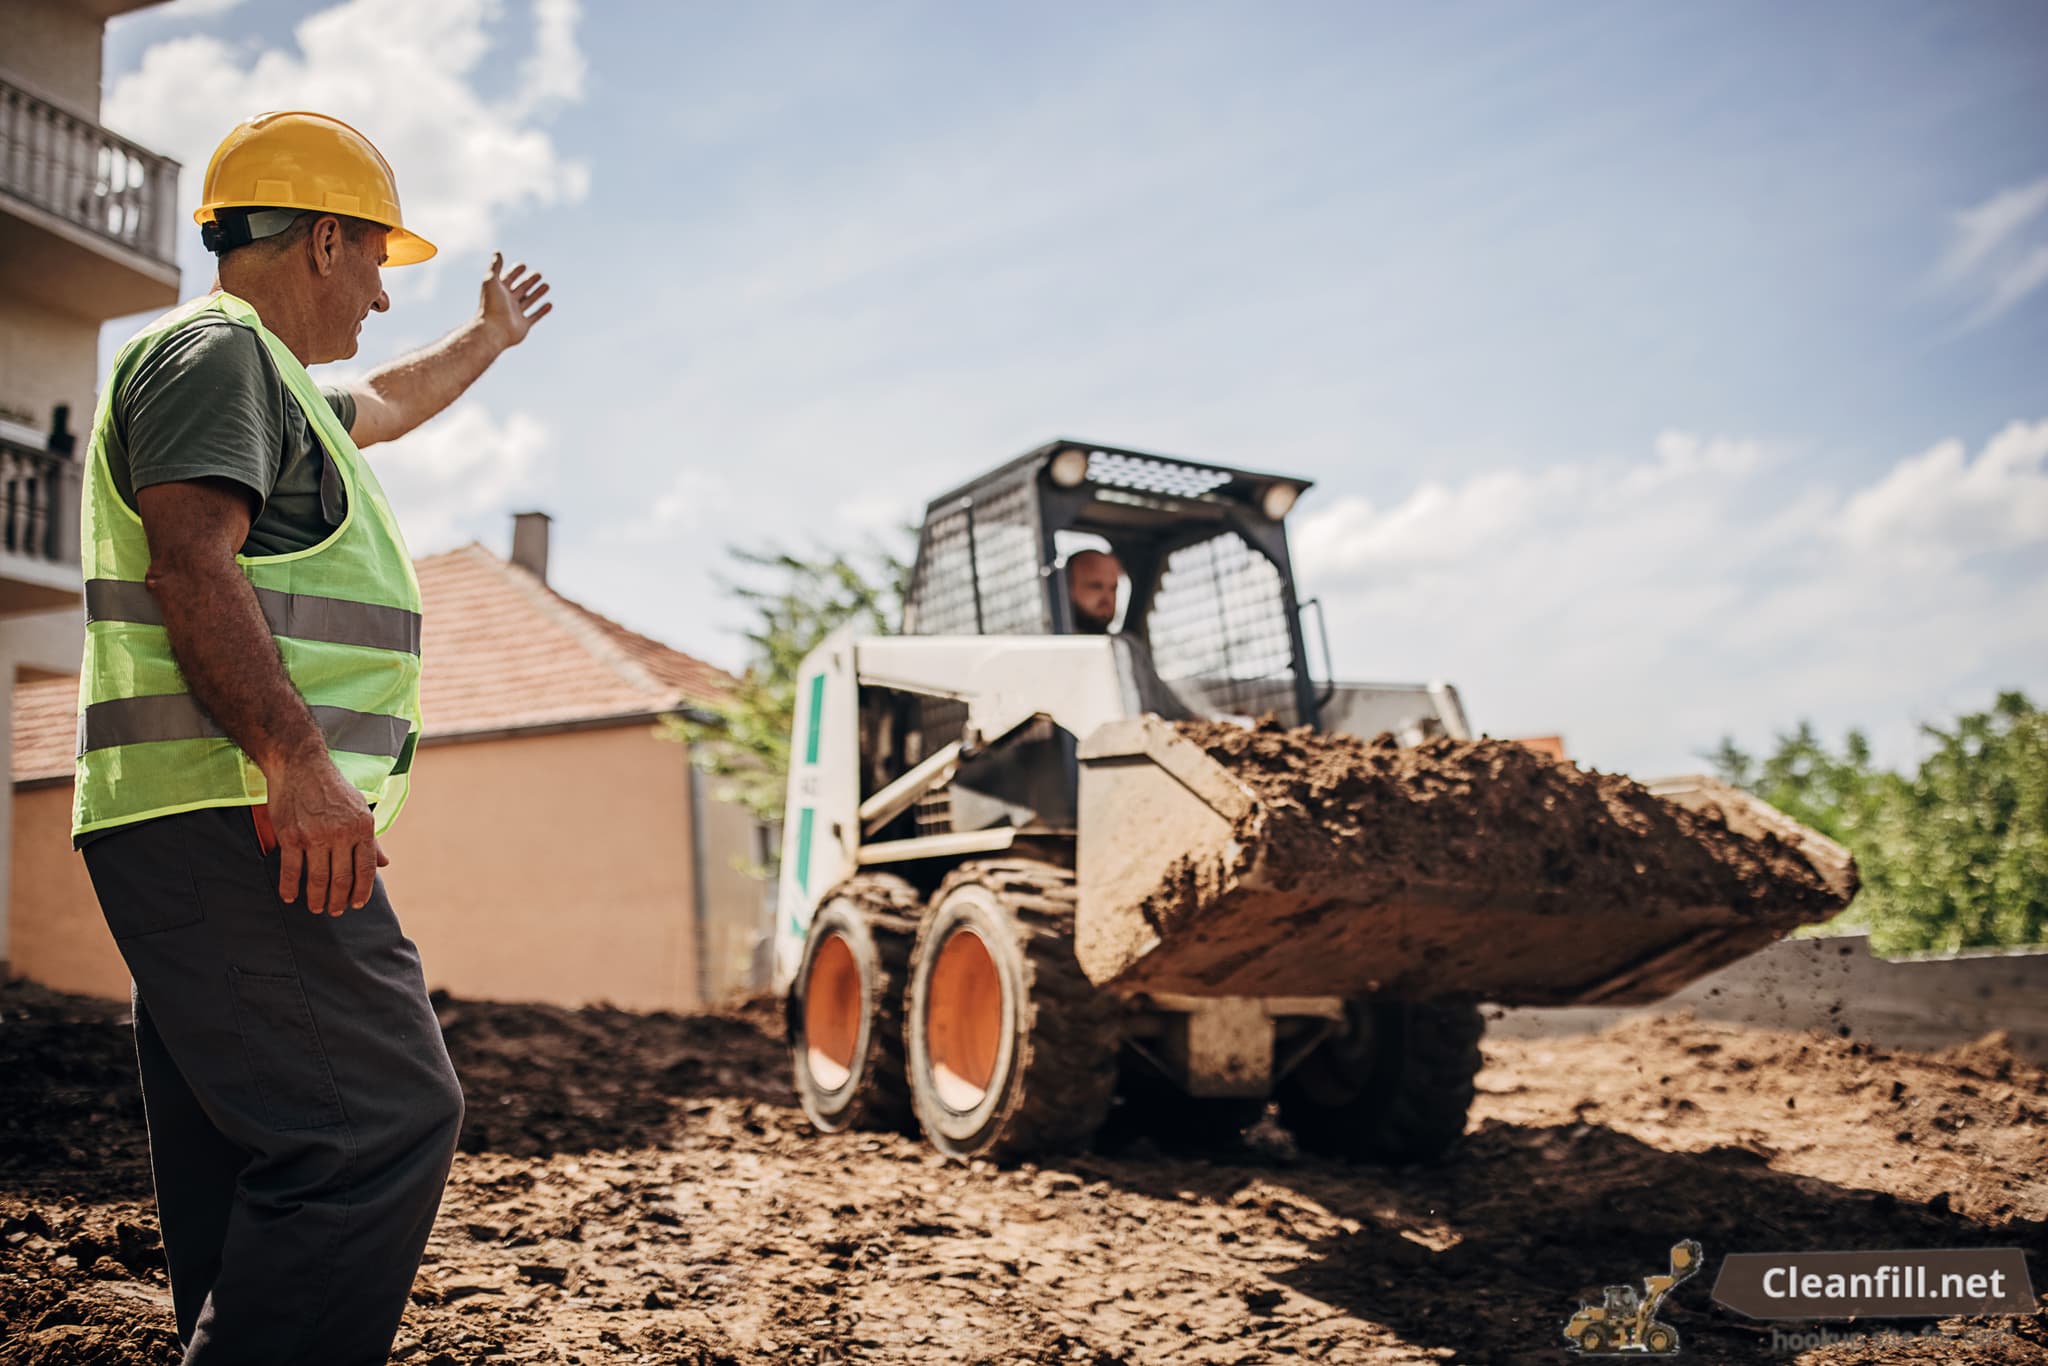
When you're dealing with construction materials and excavated soil, understanding contamination levels isn't just good practice—it's often legally required. After two decades managing fill material projects across North America, I've seen how proper soil contamination testing can make or break a project timeline and budget. Whether you're excavating for a new foundation or sourcing clean fill material, knowing what's in your soil protects both your project and the environment.
Understanding Soil Contamination and Why Testing Matters
Soil contamination occurs when hazardous substances exceed safe concentration levels established by the EPA and state environmental agencies. The most common contaminants we encounter in construction include:
- Heavy metals: Lead, mercury, cadmium, and chromium from industrial activities
- Petroleum hydrocarbons: Gasoline, diesel, and heating oil from underground storage tanks
- Volatile organic compounds (VOCs): Solvents, degreasers, and cleaning chemicals
- Polycyclic aromatic hydrocarbons (PAHs): From coal tar, asphalt, and combustion processes
- Pesticides and herbicides: Common in agricultural areas
The Resource Conservation and Recovery Act (RCRA) establishes federal standards, but individual states often impose stricter requirements. For instance, California's Department of Toxic Substances Control requires testing for a broader range of contaminants than many other states.
Legal Requirements and Liability
Under CERCLA (Superfund), property owners can be held liable for contamination regardless of who caused it. This strict liability makes soil testing essential for due diligence. Most commercial lenders now require Phase I Environmental Site Assessments for property transactions, and contaminated soil can trigger costly Phase II investigations.
The Soil Testing Process: Step-by-Step Guide
Proper soil testing follows a systematic approach that ensures accurate results and regulatory compliance. Here's how experienced environmental consultants approach each project:
Pre-Testing Site Assessment
Before collecting samples, conduct a thorough site history review. Check historical aerial photographs, fire insurance maps, and regulatory databases like EPA's ECHO system. Former gas stations, dry cleaners, and industrial facilities present higher contamination risks.
- Review historical land use through aerial photos dating back to the 1940s
- Check regulatory databases including LUST (Leaking Underground Storage Tank) lists
- Identify potential source areas like stained soil or unusual odors
- Develop sampling strategy based on site conditions and intended use
Sampling Grid and Locations
Sampling density varies based on site size and contamination risk. For clean fill characterization, we typically use a 50-foot grid pattern for areas under 2 acres. Larger sites may use 100-foot grids with additional samples in suspected hotspots.
| Site Size | Minimum Samples | Grid Spacing | Typical Cost Range |
|---|---|---|---|
| Under 0.5 acres | 4-8 samples | 25-50 feet | $800-2,000 |
| 0.5-2 acres | 8-16 samples | 50 feet | $1,600-4,000 |
| 2-5 acres | 16-32 samples | 75-100 feet | $3,200-8,000 |
| Over 5 acres | 32+ samples | 100+ feet | $6,400+ |
Sample Collection Procedures
Proper sample collection is critical for accurate results. Use certified sampling procedures following EPA Method 5035 for VOCs and standard protocols for other contaminants. Samples must be collected in laboratory-provided containers with proper preservation methods.
Soil Testing Methods and Laboratory Analysis
Different contaminants require specific analytical methods. Understanding which tests to order saves money and ensures compliance with applicable standards.
Standard Testing Packages
EPA Method 8260 (VOCs): Costs $150-250 per sample, 5-7 day turnaround. Required for gasoline and solvent contamination.
EPA Method 8270 (SVOCs): Costs $200-350 per sample, 7-10 day turnaround. Tests for PAHs and other semi-volatile compounds.
EPA Method 6010/6020 (Metals): Costs $100-200 per sample, 7-10 day turnaround. Includes RCRA metals plus additional elements.
Total Petroleum Hydrocarbons (TPH): Costs $75-150 per sample, 3-5 day turnaround. Screens for petroleum contamination.
Specialized Testing
Some projects require additional analysis:
- PFAS (Per- and polyfluoroalkyl substances): $400-800 per sample, emerging contaminant of concern
- PCBs (Polychlorinated biphenyls): $200-400 per sample, common in older electrical equipment areas
- Asbestos in soil: $150-300 per sample, required near demolished buildings
Federal and State Regulatory Requirements
Soil contamination standards vary significantly between jurisdictions. Federal guidelines provide minimum requirements, but states often establish more stringent limits.
Federal Standards
EPA establishes screening levels through the Regional Screening Level (RSL) calculator, updated semi-annually. These risk-based concentrations consider exposure pathways and land use scenarios. Industrial sites have higher acceptable limits than residential properties.
State Variations
State environmental agencies often impose stricter standards:
- California: Uses Environmental Screening Levels (ESLs) that are often 10-100 times lower than federal standards
- New Jersey: Soil Cleanup Criteria under the Technical Requirements for Site Remediation
- Texas: Protective Concentration Levels (PCLs) through the TRRP program
- Florida: Soil Cleanup Target Levels (SCTLs) under Chapter 62-777
Local Municipality Requirements
Many cities and counties have additional requirements for soil management. Los Angeles County requires soil testing for projects generating more than 100 cubic yards of excavated material. Chicago mandates testing in former industrial areas regardless of project size.
Soil Testing Costs and Budget Planning
Soil testing costs vary based on location, contaminant suite, and laboratory selection. After managing hundreds of testing programs, here's realistic budget guidance:
Laboratory Analysis Costs
Basic screening package (VOCs, TPH, metals): $325-500 per sample
Comprehensive analysis (includes SVOCs, pesticides): $600-900 per sample
Rush turnaround (1-3 days): Add 50-100% surcharge
PFAS analysis: Additional $400-800 per sample
Additional Project Costs
- Environmental consultant fees: $150-250 per hour
- Drilling/sampling equipment: $800-1,500 per day
- Report preparation: $2,000-5,000 depending on complexity
- Regulatory review time: 2-8 weeks for agency approval
Geographic Cost Variations
Laboratory costs vary by region due to shipping and local market factors:
- West Coast: 15-25% above national average
- Northeast: 10-20% above average
- Southeast: 5-15% below average
- Midwest: 10-20% below average
Interpreting Test Results and Next Steps
Understanding laboratory reports is crucial for making informed decisions about soil management and disposal options.
Reading Laboratory Reports
Laboratory reports include several key components:
Detected concentrations: Actual measured levels in mg/kg (milligrams per kilogram) or ppm (parts per million)
Method detection limits: Lowest concentration the laboratory can reliably measure
Quality control data: Blank samples, duplicate analyses, and spike recoveries
Regulatory comparisons: Some labs include screening level comparisons
Contamination Levels and Implications
Results typically fall into three categories:
- Below screening levels: Soil suitable for unrestricted use as clean fill material
- Above screening levels but below hazardous waste limits: May require restricted use or treatment
- Above hazardous waste limits (RCRA): Requires hazardous waste disposal at licensed facilities
Disposal and Reuse Options
Based on contamination levels, soil management options include:
- Clean fill designation: Can be reused at any construction site
- Restricted use fill: Suitable for industrial sites with institutional controls
- Treatment required: Soil washing, thermal treatment, or stabilization
- Hazardous waste disposal: Transportation to licensed Treatment, Storage, and Disposal (TSD) facilities
Best Practices and Quality Assurance
Successful soil testing programs require attention to detail and proper quality control measures developed through years of field experience.
Sample Collection Best Practices
- Use dedicated sampling equipment to prevent cross-contamination between locations
- Collect samples from consistent depths—typically 0-2 feet for surface contamination
- Document field conditions including weather, soil type, and visual observations
- Maintain proper chain of custody with signatures and timestamps
- Keep samples at 4°C and deliver to laboratory within holding times
Laboratory Selection Criteria
Choose laboratories with appropriate certifications:
- NELAC/TNI accreditation for state regulatory acceptance
- EPA CLP certification for federal projects
- Local state certifications as required by jurisdiction
- Turn-around time capabilities matching project schedules
Quality Control Measures
Include quality control samples in every testing program:
- Field duplicates: 1 per 20 samples to assess sampling precision
- Equipment blanks: Verify decontamination procedures
- Trip blanks: For VOC analysis to detect transportation contamination
Ready to Source Clean Fill Material?
Understanding soil contamination testing helps you make informed decisions about material quality and regulatory compliance. Whether you're looking for verified clean fill or need to characterize excavated material, proper testing protects your project and budget.
Ready to Find Clean Fill Material?
Clean Fill Network connects you with verified suppliers across North America who provide contamination testing documentation.
Find Fill Material Near You →